Ready for Holiday Cookies? Try These Baking Tips from Kitchen Wizards
Simplify your baking with these tips -- or try an in-home cookie class!
We want to shop, decorate, cook, bake, and make the holidays perfect for our families, but we end up feeling disorganized and unable to keep on top of all of the work. Sound familiar?
How would you like to make your Christmas cookie baking a bit easier? I’m Kathy Wolper, and I own Kitchen Wizards. Over 16 years ago, I began Kathy’s Just Desserts, Inc., a home-based baking business. I have since spun off a division called Kitchen Wizards, where we help kids of all ages to discover the magic of cooking, one bite at a time through our culinary enrichment programs/parties/classes/camps. We now have 20 instructors teaching our programs in New Jersey and Pennsylvania.
Kitchen Wizards has grown by leaps and bounds, so the baking part of my business has been moved to the back burner (pardon the pun!). But baking Christmas cookies has always been — and continues to be — a very big part of my own holiday traditions. As a child, I baked with my mom and sister. As an adult in the corporate world, I’d take a week of vacation in December to bake for friends and family. At Kathy’s Just Desserts, we’ve baked 15,000 cookies for customers in November-December for many years.
This year, we’re offering cookie baking workshops for adults and for kids right in your own home. You’ll get the smell of baking cookies, a fun tradition with the kids or a different get-together for adults, and someone to clean up afterwards. What’s even better is that your baking will be completed. Contact me for details.
Still want to do it yourself, but without as much stress? How about completing your baking in three sessions? Here are some tips for how WE do it!
First, plan your grocery list for baking. Make sure you add up all you need for ALL of your recipes. Invest in some parchment paper — it’s a time-saver and helps you to have a quicker cleanup when baking. Invest in a box of sheets (pre-cut to fit the size of your cookie sheet).
Start with organizing recipes from light to dark dough and/or no nuts to nuts (if allergies are a concern). Most recipes include a few basic ingredients: butter, flour, sugar, baking soda/baking powder, salt, and perhaps eggs. Next, plan a day to make your doughs. Start with white doughs (white sugar, no nuts, no chocolate, no eggs), then work your way darker. No need to wash out the bowl, beaters, and spatula in between cookie doughs if you’re doing this in one session.
As you finish each dough, spoon it into a Ziploc bag, label it, and place it in the refrigerator. You can leave the cookie dough bags in the refrigerator for up to the time that the eggs would expire.
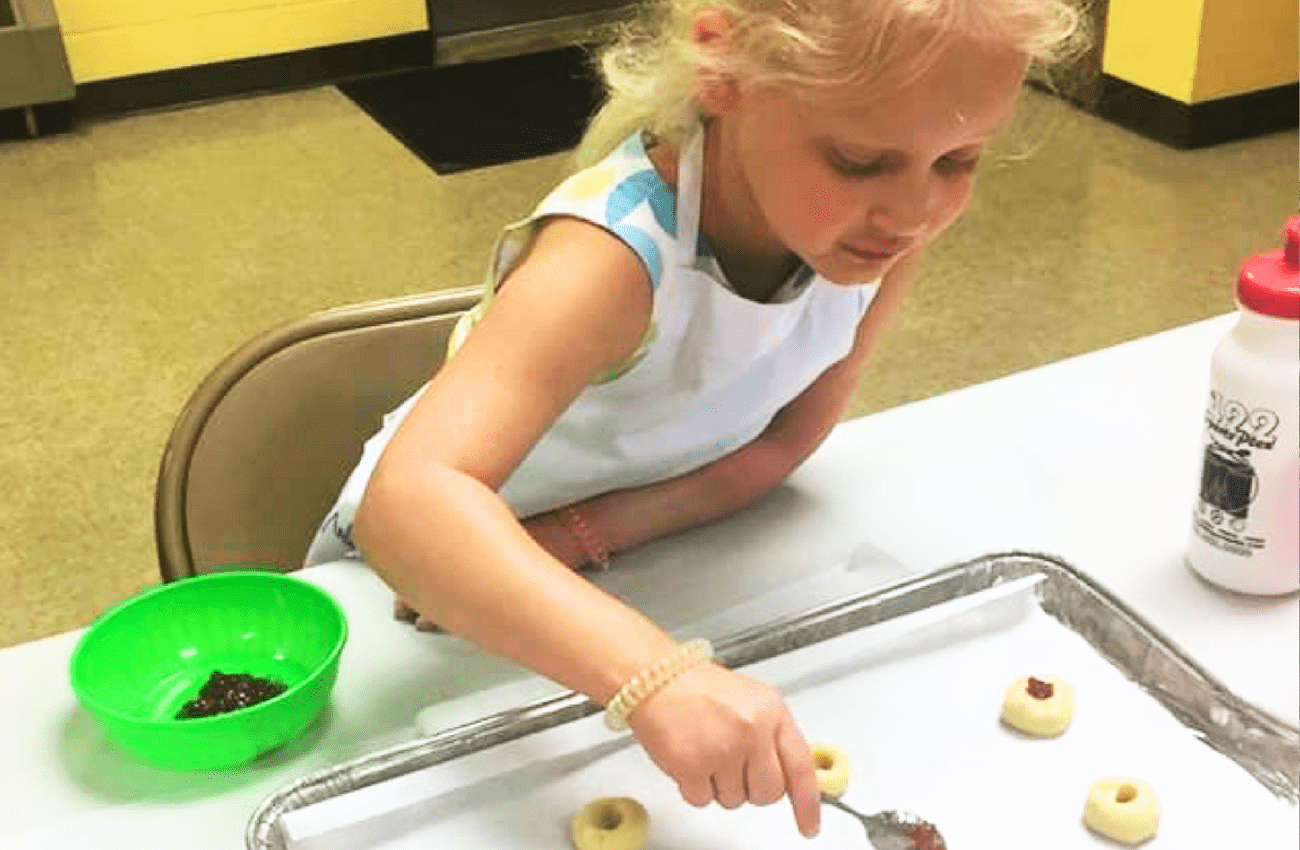
When you have time to continue your cookie prep, pick a day and get the kids in the kitchen with clean hands (no licking fingers!). Line cookie sheets with parchment, and roll balls, make crescents, or make thumbprints, placing cookies right next to each other on the lined cookie sheets. No need to place them far apart — you won’t be baking them yet. Place them very close together — as close as possible without touching. If the dough is sticky, flour your hands – especially the palms and fingers. As you finish each sheet of cookie dough (or variety), put the tray in the freezer. Don’t worry about clearing out shelves in your freezer – you just need “head room.” So, place the tray on top of the ice cream, frozen peas, and chicken you bought on sale.
After cookie doughs are formed and frozen SOLID, remove them from trays and place in Ziploc bags. Label the bags and return bags of unbaked cookies to freezer.
The LAST time you set aside for cookies will be when you bake them. Place them on cookie sheets WHILE FROZEN — by the time the oven is preheated, your unbaked cookies are thawed, and you can bake them.
As your cookies finish, remember that cookies baked on parchment must cool completely before removing. I slide the parchment onto the kitchen table (no rack necessary) and allow the cookies to cool. Then, I place another sheet of parchment on the cookie sheet, and load it up with more unbaked cookies. As you bake and cool the cookies, you may have a variety that requires a drizzle of glaze or a dusting of powdered sugar AFTER baking.
Run THOSE varieties of cookies through the oven FIRST, so that you can work on the finishing touches while the other cookies are baking.
I recommend that you do the BAKING part of your cookie preparation as close to Christmas as possible. If made from scratch, cookies have no preservatives, so you’ll want to eat them as soon as you can after they’ve been baked.
I hope you have learned some tips that you can use this Christmas. And, remember, this same process can be used throughout the year!
Enjoy, and Merry Christmas!!
Kathy Wolper, Owner, Kitchen Wizards
www.kitchenwizards.info/events
Kathy@kitchenwizards.info
610-348-5284
Instagram: KitchenWizardKath
Facebook: /KitchenWizards
The Main Line Parent Community Blog is a place for Business Members to tell their stories to our community. Want to feature your business here? Become a Business Member today!
Photographs courtesy of Kitchen Wizards.